Hi Guys!
A friend came to me recently with an interesting request... "Will you write a blog post on how to take good pictures of your nails, but emphasize how to do a flattering hand pose rather than the claw hand that I see everywhere?" After we shared a good laugh about this I told her that I thought that was a great idea so here I am with my tips and tricks for you today. It's a long one, so grab a snack.
 |
| Bahama Mama, Essie |
 |
| Find Me An Oasis, Essie |
 |
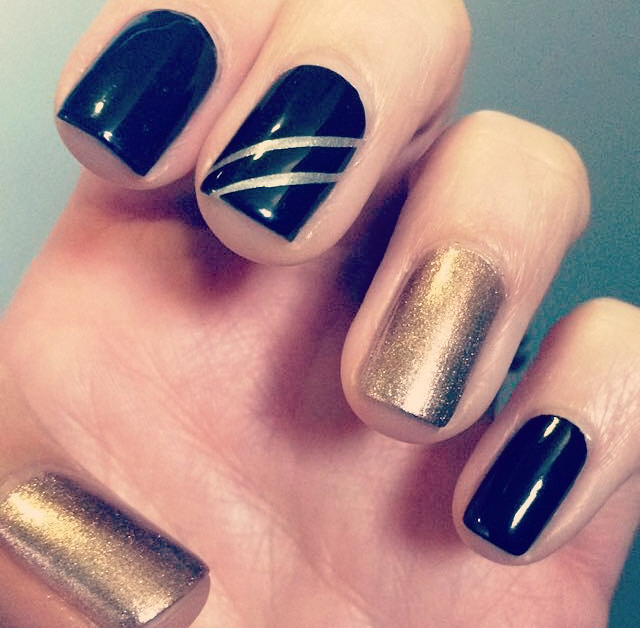
| Sunset Sneaks, Essie |
Last July I posted an article on how I photograph my nails, and inevitably some of the things I'll talk about today will crossover with that post, but a lot of what I want to focus on today is on the art of the hand pose itself. Did that sound cheesy?! I sure felt cheesy typing it, lol.
But back to the matter at hand. Good nail photography is a multi-faceted thing, so to kick things off we will start with some basics.
MANICURE TIPS
Make sure your manicure is looking good! This means cleaning up those cuticles (post on this coming soon) and making sure your skin and cuticles are hydrated! I personally think that cleaning up the edges of your nail polish with acetone and a small brush is one of the simplest ways to really make your at-home manicure look more professional---and it's so easy to do! Nail polish all over the cuticle line is never a good look. And be sure you are taking good care of the cuticles themselves. I love the Sally Hansen Instant Cuticle Remover and I also use various cuticle balms and oils daily. But beware... overly lubricated cuticles can detract from a nice picture too. Generally speaking, make sure your cuticles are tidy and hydrated, but not saturated. Right after you've applied your cuticle oil is not necessarily the best time to snap that picture.
I take a lot my pictures in my car right before work in the morning the day after I paint them, and I like keeping the Elf Nourishing Cuticle Pen in my purse just in case there are any dry patches to take care. I just apply a little bit, rub it in so it's not super oily looking, and I'm good to go!
 |
| Find Me An Oasis, Essie. Cuticle line is tidied up and camera-ready. |
LIGHTING TIPS
Lighting is a tricky thing and can be the bane of good pictures. For me, what seems to work best is natural, indirect light, but there are other scenarios that work well for others, like lightboxes and daylight bulbs. Overall, I've found that general indoor lighting is not great for nail photography, nor have I had any success in using direct sunlight. On the flip side of this there's Kellie Gonzo who uses direct sunlight in her pictures and they turn out great! I think experimentation is the key. I've recently started taking pictures under a lamp in my living room, and while I love how the pictures turn out when I do that because it emphasizes the shine in my manicures, it also causes the entire image to be a lot warmer than the images I capture in natural light, which can matter when you're trying to capture the true nature of the color itself. So, I have to be careful when I use that light source. I want to look into buying some daylight bulbs to see how that works out for me, so stay tuned. See below for an picture of mine with TERRIBLE indoor lighting. I actually posted the first picture below on my personal Instagram account! Sigh...
 |
| What NOT to do: Indoor lighting is not your friend |
 |
| The bulb I'm using here is making the image too warm (raw image) |
 |
| Natural light is more... natural! (raw image) |
Some of you probably already know that I use my iPhone for my nail pics. I don't own a good camera (yet!), and so far I have been satisfied with using my phone and enjoy the ease of uploading that comes with it. So, for now, my camera tips will be focused around smartphone photography, and I truly only have a couple of tips for you guys. Make sure your lens is clean and smudge-free before taking your pictures, and make sure your pictures are in focus! I, always clean off my lens before snapping any pictures to make sure the image is as clear as possible. And tap that screen to focus, ladies. It really isn't hard to product a nice, crisp image with your smartphone, plus editing is incredibly easy. I always edit my pictures, usually by cropping, rotating, and brightening when needed. However, be careful not to over-edit. You don't want to alter the color of the polish if your goal to showcase the shade. If that's not your goal then this may not apply to you.
Also... Take lots of pictures, rather than just one or two, so that you can have a variety of images to choose from before you post. I always take a million and a half pictures, which is nice because you'll also be able to see little nuances in clarity and lighting. This will also help you to be able to start honing in on what sort of conditions are best for your photography in general.
 |
| Always clean off your lens before shooting! |
 |
| Blossom Dandy, Essie. Picture cropped, rotated, and brightened. |
 |
| Screen grab from my phone. Note the lighting differences. |
THE POSE
And now we get to the point of the post, the special request made by my friend... How to pose naturally. Let's start by discussing what you DON'T want to do: You don't want to do "the claw." "The claw" is your enemy, thwart him at all costs. See below for my own personal infractions...
 |
| My NYE '15 mani. Love the polish, hate the claw. |
 |
| What NOT to do! |
TIP: The trick to holding your hand in a flattering way is to relax the hand itself. Loosen your fingers and try arranging in them in a gentle, natural position. I like to hold mine in a slightly curved arch, but this is completely a matter of preference...
 |
| First Mate, China Glaze. The lighting is PERFECT here, IMO |
 |
| Bronze Beauty, Cover Girl |
An even easier thing to do is to simply stand with your hand held out in front of you, I usually hold mine about waist high, in a relaxed manner. The same rules for lighting apply---I find indirect, natural lighting best, and beware of backgrounds that can detract from your nails. I take mine in the parking lot at the school I work at. Every time I try to take pictures over grass or foliage it never turns out right for me.
 |
| Bahama Mama, Essie |
 |
| Dirty Baby, Smith & Cult |
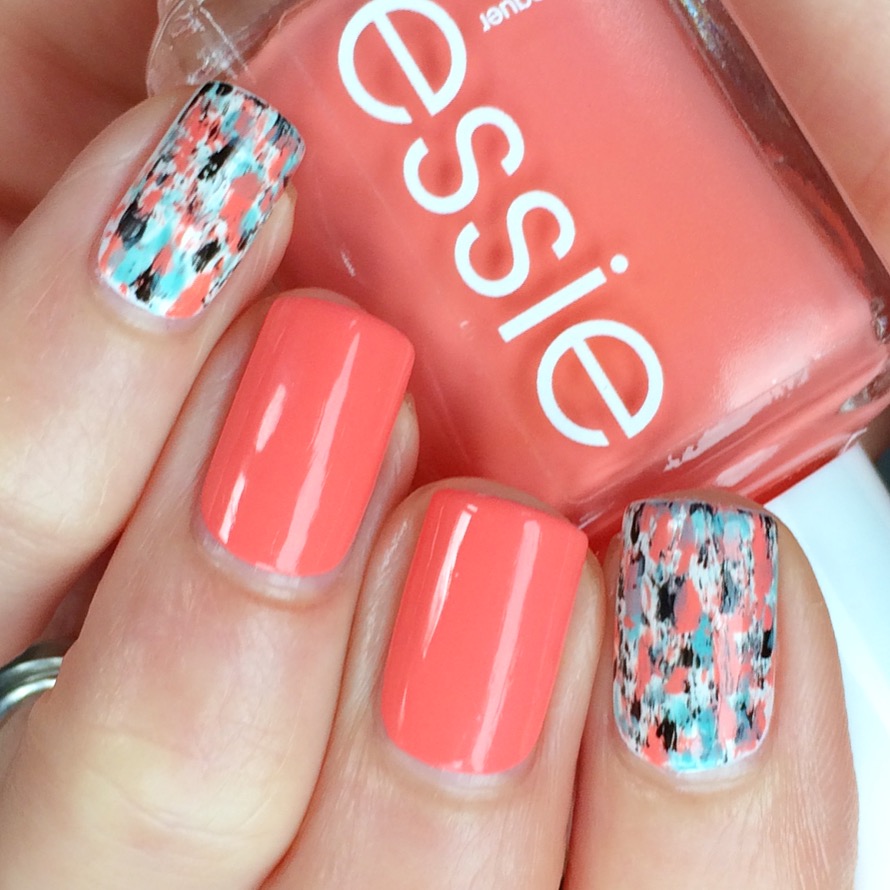
BOTTLE SHOTS: Taking pictures with the bottle of nail polish itself is also a great way to pose that you see a lot of people doing, but that too can take practice to get right. The best advice I can give to you is to practice, practice, practice. Take lots of pictures in lots of different hand poses and start figuring out what gives you the best result. As I mentioned before, the key to any sort of hand pose is to relax your fingers, and this advice holds true with bottle shots as well. I like to place the tips of my fingers on the surface of the bottle because I like the way it elongates my nail beds, but that is just my preference. I've seen tons of different ways of doing bottle shots that are all wonderful.
 |
| What NOT to do: Bad indoor lighting and mediocre pose |
 |
| Natural light and an improved finger position |
 |
| Before I figured out what pose worked best for me |
 |
| After: Note the placement of the pads of my fingers |

No comments:
Post a Comment